

On this page
Top picks at a glance
As an Amazon Associate I earn from qualifying purchases.
- 1
 Cow Milking Machine PortableView on Amazon
- 2
 Stera Sheen Green Label SanitizerView on Amazon
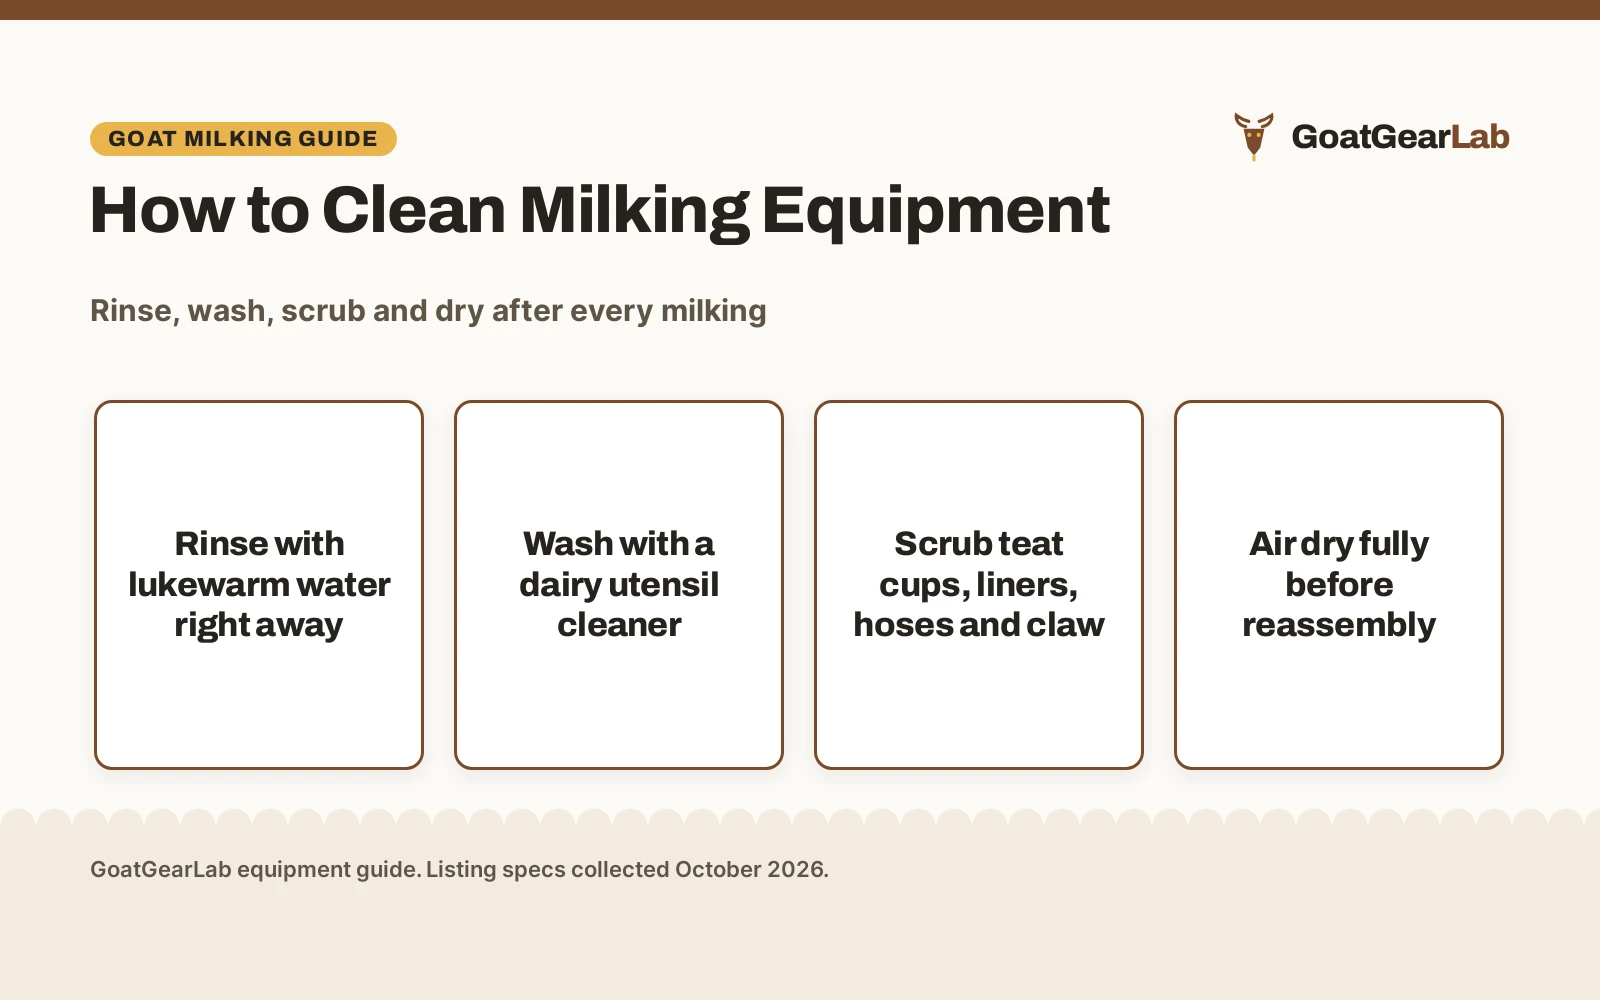
Milk residue turns into a film within the hour, so how to clean milking equipment comes down to one habit: rinse everything the moment milking ends, then wash, rinse again and dry before the next session. The full routine is rinse with lukewarm water, wash with a dairy cleaner, scrub the parts milk touches, rinse clean and air dry. Done in that order after every milking, the routine keeps buckets, teat cups, hoses and liners free of the buildup that sours milk and wears out rubber parts.
Also worth comparing
 Cow Milking Machine PortableCheck price on Amazon
 Stera Sheen Green Label SanitizerCheck price on Amazon
GoatGearLab earns a commission when you buy through links on this page, at no extra cost to you. As an Amazon Associate I earn from qualifying purchases. Affiliate disclosure.
How to clean milking equipment: the short answer
Rinse every part that touched milk with lukewarm water right after milking, before anything dries. Wash with a dairy utensil cleaner, scrubbing teat cups, liners, hoses, the claw and the bucket with the brushes that fit them. Rinse everything clean, then air dry completely before reassembly. If you would rather compare machines first, our best goat milking machine roundup scores milkers on the same points this guide uses.
Step 1: rinse right after milking
The rinse is the step that decides how hard the wash will be. Milk left in a teat cup or hose starts to dry into a film quickly, and dried film needs scrubbing where a prompt rinse would have done. As soon as milking ends, run lukewarm water through every part the milk touched: the teat cups, the liners, the hoses, the claw and the bucket. Lukewarm matters: hot water can bake milk protein onto surfaces, and cold water does not lift fat well.
For a machine milker, the rinse runs through the assembled unit. Draw clean lukewarm water through the teat cups the same way milk flowed, so the water follows the whole milk path. The Zlshmoee listing for its 3.7 gallon milker describes closing the stop valves and letting the machine build suction for about 20 seconds before milking; the same suction that moves milk will move rinse water through the lines. Empty the rinse water and look inside the bucket: if it still looks milky, rinse once more before washing.
Step 2: wash with a dairy cleaner
Washing needs a cleaner made for dairy equipment, not dish soap from the kitchen sink. The STEARNS listing describes a heavy duty dairy utensil cleaner sold as a 1 gallon jug, 128 fluid ounces, 6 x 6 x 12 inches and 8.95 pounds, with a high foaming action for multipurpose cleaning. Dairy cleaners are formulated to cut milk fat and protein film, which is a different job from washing plates.
Mix the cleaner as its label directs and wash every milk-contact surface with it: inside the bucket, the teat cups, the liners, the hoses and the claw. Work the solution into each part rather than just soaking; milk film clings to silicone and stainless alike and needs contact plus motion to release. Wash the outside of the bucket and the machine frame too, since splashes dry there and attract dust.
Step 3: scrub the parts the milk touches
Each part needs the right brush. Hoses need a long tube brush that reaches their full length, and teat cups need a brush that fits inside without stretching the liner. The VEVOR listing for its 6.6 gallon milking machine states it includes a long tube brush and a round-end brush for thorough cleaning, with no extra tools required. The Proshine listing for its 7L goat milker states it provides two brushes, one for cleaning pipes and one for buckets. The Zlshmoee 3.7 gallon listing states the package includes two stainless steel brushes and a stainless steel funnel.
Pay attention to the liners. The KINGTAIXIN listing sells 4PCS milking machine liners in food-grade silicone, 17.99 x 8.74 x 4.06 inches in the package and 1.12 pounds, and describes them as the part that connects with the steel cups. Liners are the softest part in the milk path and the first to hold odor if washing is skipped. Pull them, wash both sides and check for cracks or stickiness while you have them out: a liner that stays tacky after washing is worn and belongs in the spares box, not on the goat.
The claw deserves its own look. The Kozlira listing describes a 240cc milk claw with a transparent lid for watching milk flow, 13.82 x 9.09 x 6.38 inches in the package and 4.88 pounds. A clear lid only helps if it is actually clear, so wash it until you can see through it. Take the claw apart as far as the maker intends, wash each piece and check the gaskets for nicks that would break the seal.
Step 4: rinse, dry and store
Rinse every part with clean water until no cleaner residue remains, then let everything air dry completely before reassembly. Trapped moisture in a hose or a closed bucket grows the film you just washed off, so drying is part of cleaning, not an afterthought. Hang hoses so water drains out, stand teat cups open-end down and leave the bucket lid off until the inside is dry.
Store the dry parts where dust cannot settle into them. A bucket left open on the barn floor collects dust between milkings; a lid kept ajar for airflow with a clean cloth over the opening keeps both air and dust moving the right way. Reassemble just before the next milking rather than right after washing, so parts stay open to the air as long as possible.
Udder prep belongs to the routine too
Clean equipment meets a clean udder. The Sunnymove listing describes 120 pre-milking teat wipes, 2 canisters of 60 wipes each, about 5.5 x 7.8 inches per wipe, 8.46 x 8.27 x 4.33 inches for the package and 1.79 pounds, alcohol-free and made to reduce cross-contamination. Wiping teats before the cups go on keeps dirt out of the milk and off the liners, which means less to wash out of the equipment afterward. One wipe per goat per milking is the pattern the 120-count package is built around.
What the listings say about cleaning
The reference listings give concrete figures for the parts you will be washing:
| Listing | Milk path parts | Cleaning notes stated |
|---|---|---|
| STEARNS dairy cleaner | Utensils, buckets | 1 gallon, 128 fluid ounces, high foaming action |
| VEVOR 6.6 gal milker | 25L 304 stainless bucket, silicone hoses | Long tube brush and round-end brush included |
| Proshine 7L goat milker | 7L 304 stainless bucket, 4 teat cups | Two brushes: pipes and buckets |
| Zlshmoee 3.7 gal milker | 304 stainless bucket, food-grade silicone hoses | Two stainless brushes and funnel included |
| KINGTAIXIN liners | 4PCS food-grade silicone liners | Replacement part, 1.12 pounds |
| Kozlira cluster | 240cc claw, 4 silicone teat cups | Detachable components, smooth surfaces |
Two details are worth noting. The VEVOR listing pairs its 750W vacuum pump and 45-50 kPa vacuum with a 6.6 gallon, 25L food-grade 304 stainless steel bucket and food-grade silicone hoses, and states the sealed system reduces leakage; fewer leaks mean less milk drying on the outside of the machine. The Proshine 7L listing states a 30-day no-questions-asked return and lifetime technical support, which is worth knowing before you commit to a machine whose cleaning routine you have not tried yet.
What this guide does not cover
This guide covers cleaning milking equipment only. It does not cover milk handling after the bucket, milk storage, or any animal health question. Ask your veterinarian or local extension office about udder health and milk quality checks.
FAQs from goat keepers
How soon after milking should I clean the equipment?
Immediately. Rinse every milk-contact part with lukewarm water as soon as milking ends, before residue dries into film. The wash, rinse and dry steps follow the same session.
Can I use dish soap on milking equipment?
Use a cleaner made for dairy equipment. The STEARNS listing describes a heavy duty dairy utensil cleaner with high foaming action, formulated for the milk fat and protein film that dish soap is not designed to cut.
How do I clean the hoses on a milking machine?
Draw lukewarm rinse water through the assembled lines, then wash with dairy cleaner using a long tube brush that reaches the full hose length. The VEVOR and Zlshmoee listings both include long tube brushes for this job.
When should milking liners be replaced?
Replace a liner that stays tacky or sticky after washing, or shows cracks when you flex it. The KINGTAIXIN listing sells replacement liners as a 4PCS set in food-grade silicone; keep a spare set so a worn liner never delays milking.
Do I need to wipe teats before milking?
Yes. Pre-milking wipes keep dirt out of the milk and off the liners, which lightens the cleaning afterward. The Sunnymove listing offers 120 wipes in 2 canisters of 60, about 5.5 x 7.8 inches each.
More from the barn
See every milking machine guide and all milking guides.
More picks: best goat milking machines, milk pails for goats, stainless steel milk pails and goat milking.