

On this page
Top picks at a glance
As an Amazon Associate I earn from qualifying purchases.
- 1
 ARKSOLDIER 33.62 in Fence Post Repair Kit9.7/10View on Amazon
- 2
 Grazeline Fence Post Repair Kit 2-Pack9.7/10View on Amazon
- 3
 Postsaver Pro-Set Fast Fixing Foam for Fence and Deck Posts9.7/10View on Amazon
- 4
 XtremepowerUS 1500W Electric Post Hole Digger Earth Auger DigView on Amazon
- 5
 Metal Garden Fence PostsView on Amazon
- 6
 10 Pack Metal Fence PostView on Amazon
- 7
 20 Pack Metal Fence PostView on Amazon
- 8
 ARIFARO Fence Posts 7 FeetView on Amazon
- 9
 Metal Fence Posts 4 FT BlackView on Amazon
A goat that finds a loose post will rub it, lean on it and worry it until the fence sags, so how to dig a fence post hole matters before any rail or wire goes up. Dig a straight hole, set the post plumb, pack the soil firm around it, and the fence holds its line through seasons of leaning goats. This guide walks through the tools and the steps in order, so the post stands firm when the goats lean on it.
Also worth comparing
 XtremepowerUS 1500W Electric Post Hole Digger Earth Auger DigCheck price on Amazon
 Metal Garden Fence PostsCheck price on Amazon
 10 Pack Metal Fence PostCheck price on Amazon
 20 Pack Metal Fence PostCheck price on Amazon
 ARIFARO Fence Posts 7 FeetCheck price on Amazon
 Metal Fence Posts 4 FT BlackCheck price on Amazon
GoatGearLab earns a commission when you buy through links on this page, at no extra cost to you. As an Amazon Associate I earn from qualifying purchases. Affiliate disclosure.
How to dig a fence post: the short answer
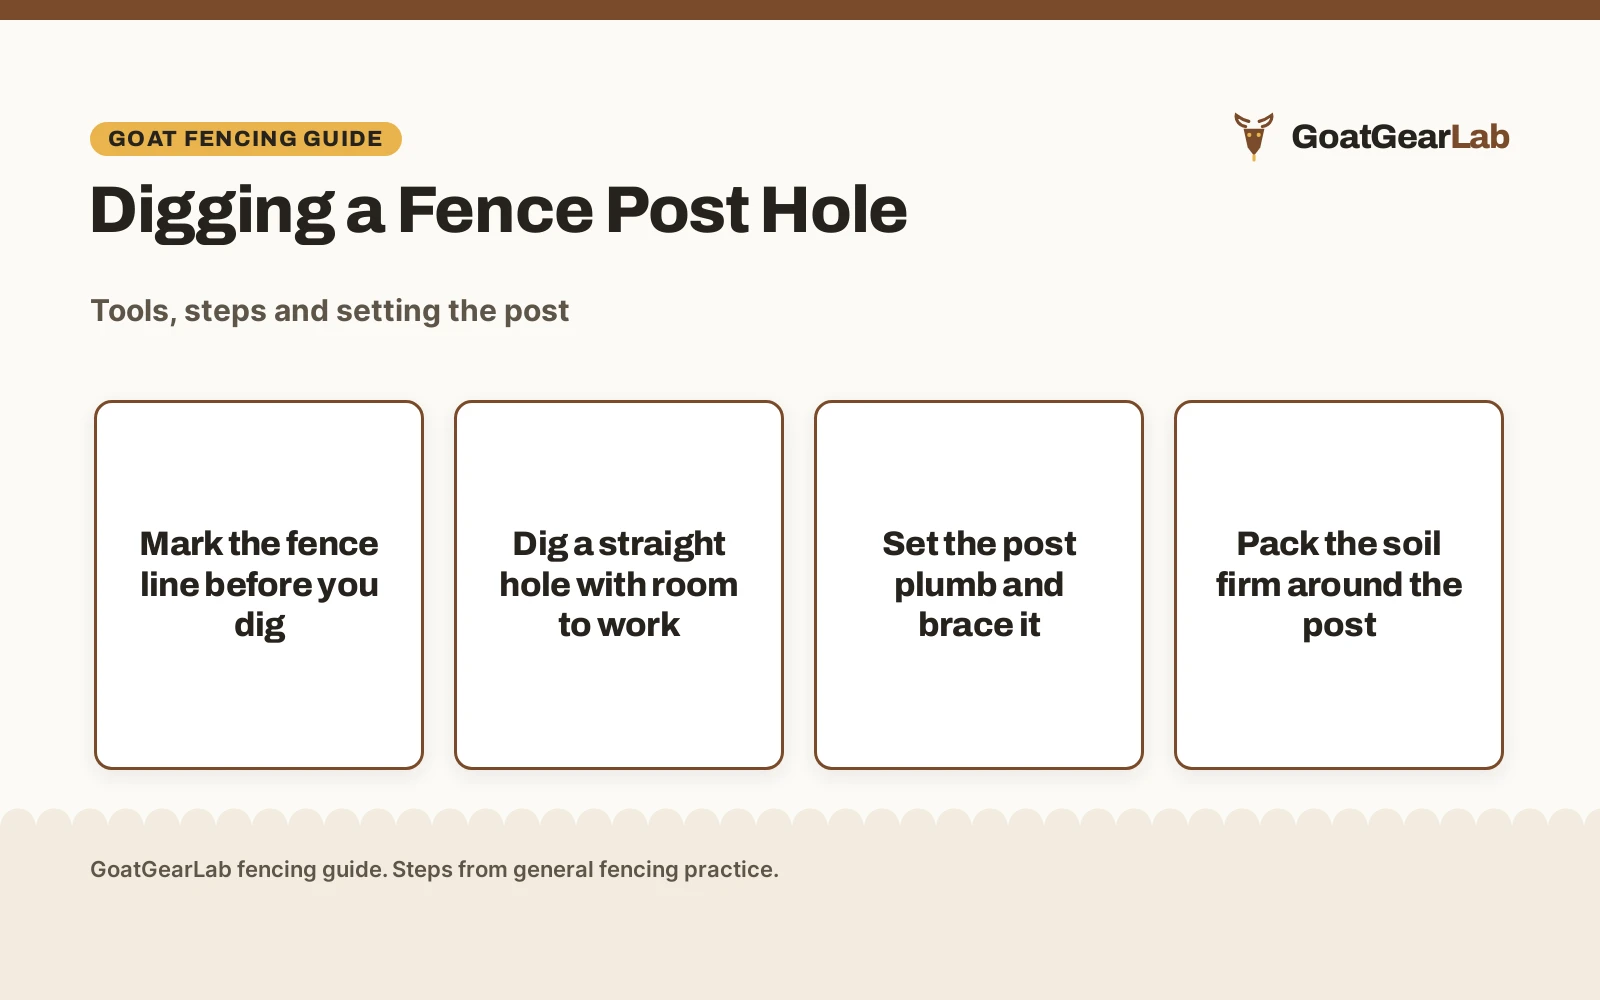
Mark the fence line with stakes and a string line, dig a straight hole at each mark, set the post plumb in the hole, and pack the soil back around it in layers, tamping each layer firm. Brace the post while the soil settles, and check the line again before you hang wire or rails. The rest of this guide covers the tools, the digging, and the setting, in the order you will use them.
Tools for digging a fence post hole
The right tool depends on your soil. A clamshell post hole digger suits ordinary soil and a modest run of posts, an auger suits a long fence line or hard ground, and a digging bar breaks up rock and hardpan that a digger cannot bite. A shovel clears loose soil from the hole, a level checks the post, and stakes with a string line keep the run straight. Gather the tools before you start, so a post never waits in an open hole while you hunt for a level.
Post hole digger
A clamshell post hole digger has long handles and blades that close around a plug of soil. Open the blades, drive them into the ground, close the handles to grip the soil, and lift the plug out. Work around the edge of the hole rather than the middle, and clear the blades often so damp soil does not pack between them. For a short run of posts on kind soil, a digger and a shovel may be all you need.
Auger
An auger bores a round hole with far less lifting than a hand digger, which matters on a long fence line. A hand auger suits soft soil and a handful of holes, while a gas auger suits hard ground and a long run, though it needs a firm grip and a clear work area. Our post hole auger tips guide covers safe handling and clearing the bit. Whatever auger you use, clear the loose soil from the hole before you set the post, since loose soil under the post lets it sink.
Digging bar and shovel
A digging bar is a long steel bar with a chisel end for breaking rock and a tamper end for packing soil. Use it to loosen hardpan, pry out stones, and break the edges of the hole when the digger stops biting. A shovel with a long handle clears loose soil, shapes the hole, and backfills around the post. Keep the bar close even on kind soil, since a buried stone can stop a digger cold.
Marking the fence line
Drive a stake at each end of the run and pull a string line tight between them, then mark each post spot along the line. Space the posts evenly by eye and stride, and walk the line to check that it clears gates, sheds and water troughs. Mark the spots with paint, flags or small stakes so the marks survive foot traffic. Check with your local utility office before you dig, and move the line if the marks cross a buried line or a drain.
Digging the hole
Start at the mark and work straight down, keeping the sides of the hole as vertical as you can. Clear loose soil as you go, so the hole stays clean and you can see the bottom. The hole should be wide enough to work the digger and to tamp soil around the post, and deep enough that a good share of the post sits underground. Widen the bottom a little more than the top, so the footing resists frost heave and leaning goats. If the digger stops biting, switch to the bar, break the hard layer, and go back to the digger.
Keeping the hole straight
A straight hole makes a straight fence. Stand over the hole, keep the digger handles vertical, and turn a little as you work so the hole stays round. Check the hole against the string line often, and shave the high side when the hole drifts. A hole that leans will set a post that leans, and no amount of packing will fix a post that starts crooked.
What to do with rocky or wet soil
Rocky soil calls for patience and a bar. Pry stones out rather than digging around them, since a stone left in the wall of the hole can push the post out of plumb. Wet soil digs easy but packs poorly, so let a wet hole drain and firm up before you set the post, and tamp the backfill in thin layers. In dry, crumbly soil, dampen the backfill lightly as you pack it, so the layers bind instead of sliding.
Setting the post
Drop the post in the hole and check it with a level on adjacent faces, turning the post until it reads plumb from every side you can see. Brace the post with stakes and scrap boards while you backfill, so it cannot shift while you work. Backfill in layers, tamping each layer firm with the bar or a tamper, and keep checking the level as the hole fills. Mound the soil a little at the base so rain runs away from the post, and leave the braces in place until the soil has settled. Our how to support a fence post guide covers bracing options in more depth.
Mistakes that leave posts leaning
Most leaning posts trace back to the hole, not the post. A hole that is too shallow lets the post pivot, loose backfill lets it settle crooked, and a post set out of plumb stays out of plumb. Rushing the backfill is the common fault: soil dumped in all together bridges across the hole and leaves voids, while soil tamped in layers locks the post in place. Check the level after each layer, and recheck the line after the run is set, since a post can drift while its neighbor goes in.
FAQs from goat keepers
How deep should a fence post hole be?
Deep enough that a good share of the post sits underground, with the bottom widened a little so the footing resists leaning. A gate post or a corner post wants a deeper hole and a firmer footing than a line post, since it carries more strain. When in doubt, dig deeper rather than shallower, and tamp the backfill firm.
Can I dig a fence post hole without an auger?
Yes. A clamshell post hole digger, a digging bar and a shovel handle most soil, and an auger only saves effort on a long run or hard ground. Rocky soil may still call for a bar, auger or not.
What tool digs through rocky soil?
A digging bar, used to break rock and pry out stones before the digger goes back in. Work the bar in short strokes, clear the broken pieces, and keep the hole round as you go. A manual post puller can help with old posts and roots; see our manual fence post puller guide.
How do I keep a fence post straight while the soil settles?
Brace the post with stakes and scrap boards before you backfill, and check the level after each layer of soil. Leave the braces in place until the soil has settled, and recheck the post after rain, since wet soil can let a post drift.
Should I use concrete around a fence post?
Packed soil holds a line post well on most ground, and it lets you reset the post later without breaking concrete. Concrete suits gate posts and corner posts that carry strain, and any post that must hold its line against a gate. If you use concrete, keep it below the soil surface and mound soil over it so water runs off.
More from the barn
See every fencing and shelter guide and all post driver guides.
More picks: post hole auger tips, how to support a fence post, manual fence post puller and types of livestock fencing.